How to Clean Mold Out of Your Air Conditioner
A well-functioning air conditioner is indispensable for maintaining a comfortable indoor environment, especially during the scorching heat of summer. However, the emergence of mold within your air conditioning unit not only compromises its performance but also poses potential health hazards for you and your loved ones.
Fear not, for with the right tools, techniques, and a bit of elbow grease, you can effectively rid your air conditioner of mold and restore it to its optimal condition. In this comprehensive DIY guide, we'll take you through step-by-step instructions on safely and efficiently cleaning mold out of your air conditioner.
Step 1: Prioritize Safety Precautions
Before you start on the cleaning journey, it's essential to prioritize your safety. Mold can pose health risks, and exposure to cleaning agents can be hazardous. Equip yourself with the necessary protective gear to shield against mold spores and cleaning agents.
This includes wearing gloves to protect your hands, safety goggles to shield your eyes, and a mask to prevent inhalation of mold spores and fumes from cleaning solutions. Ensuring your safety sets the foundation for a successful cleaning process.
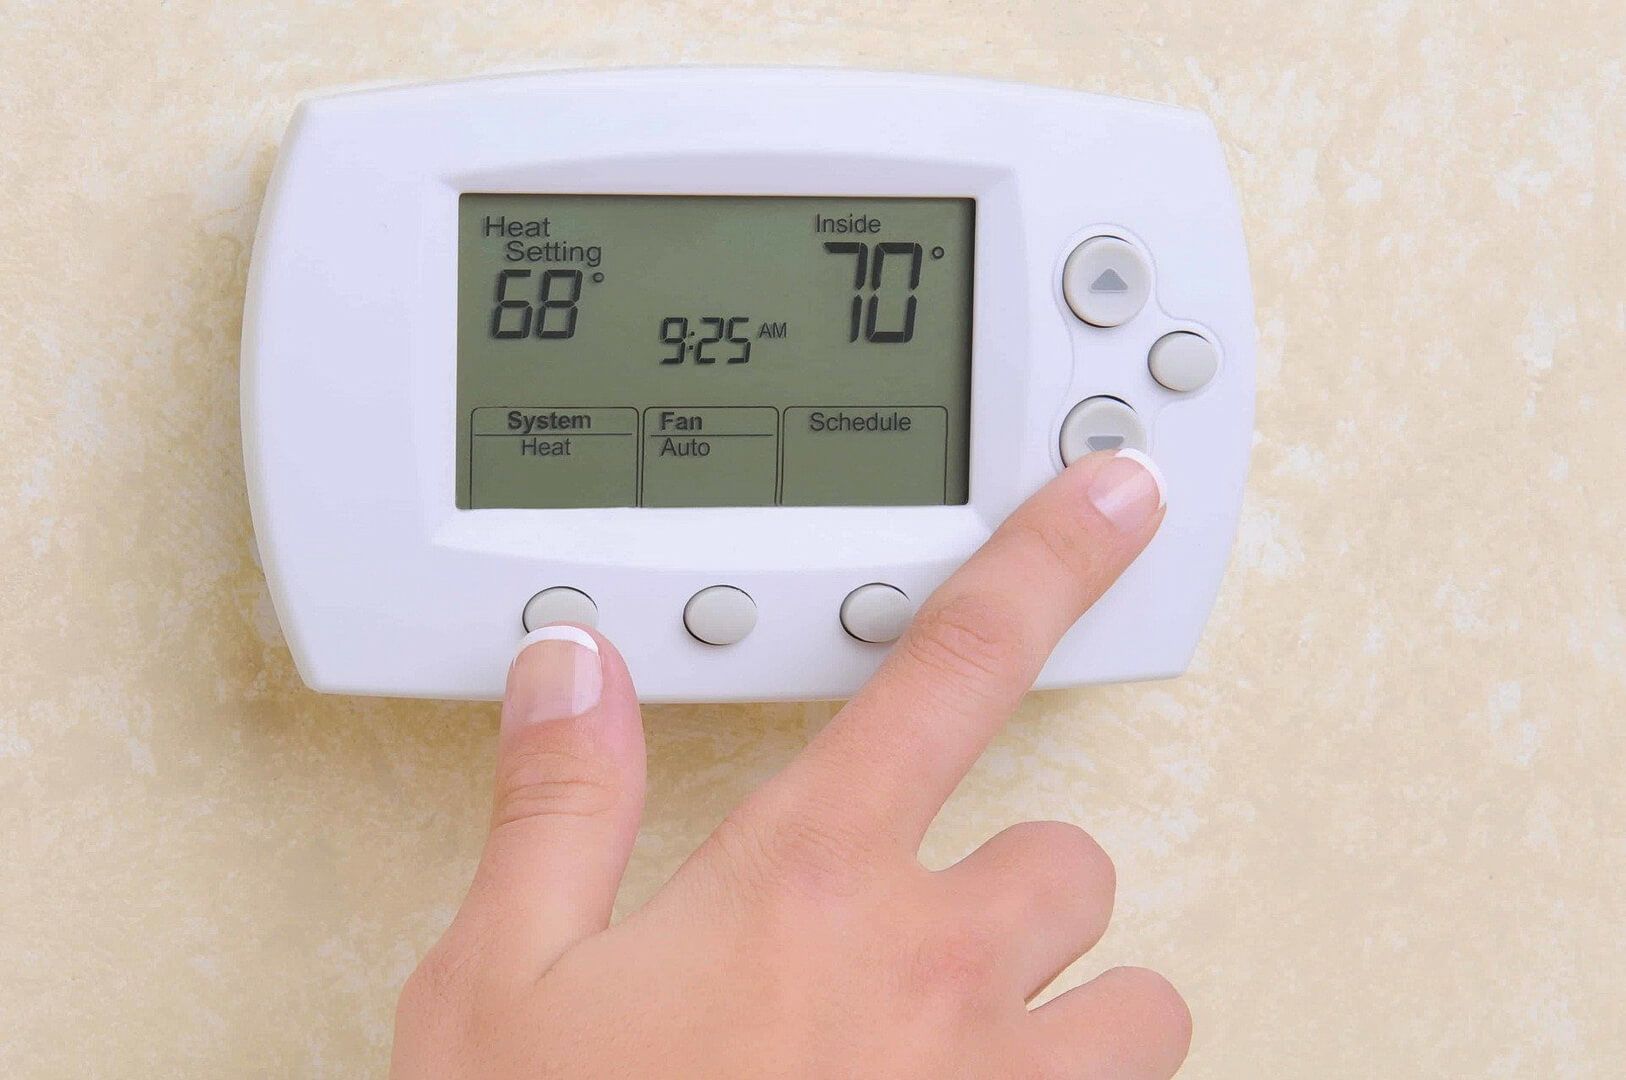
Step 2: Power Down Your Air Conditioner
To mitigate any risk of electrical hazards, it's essential to power down your air conditioner completely before beginning the cleaning process. Start by switching off the power supply to your air conditioner at the circuit breaker or disconnect switch.
This ensures that there is no electricity flowing to the unit, reducing the risk of electric shock during cleaning. Additionally, unplug the unit from the power source to ensure complete deactivation. Taking these precautions ensures a safe environment for cleaning and prevents accidents.
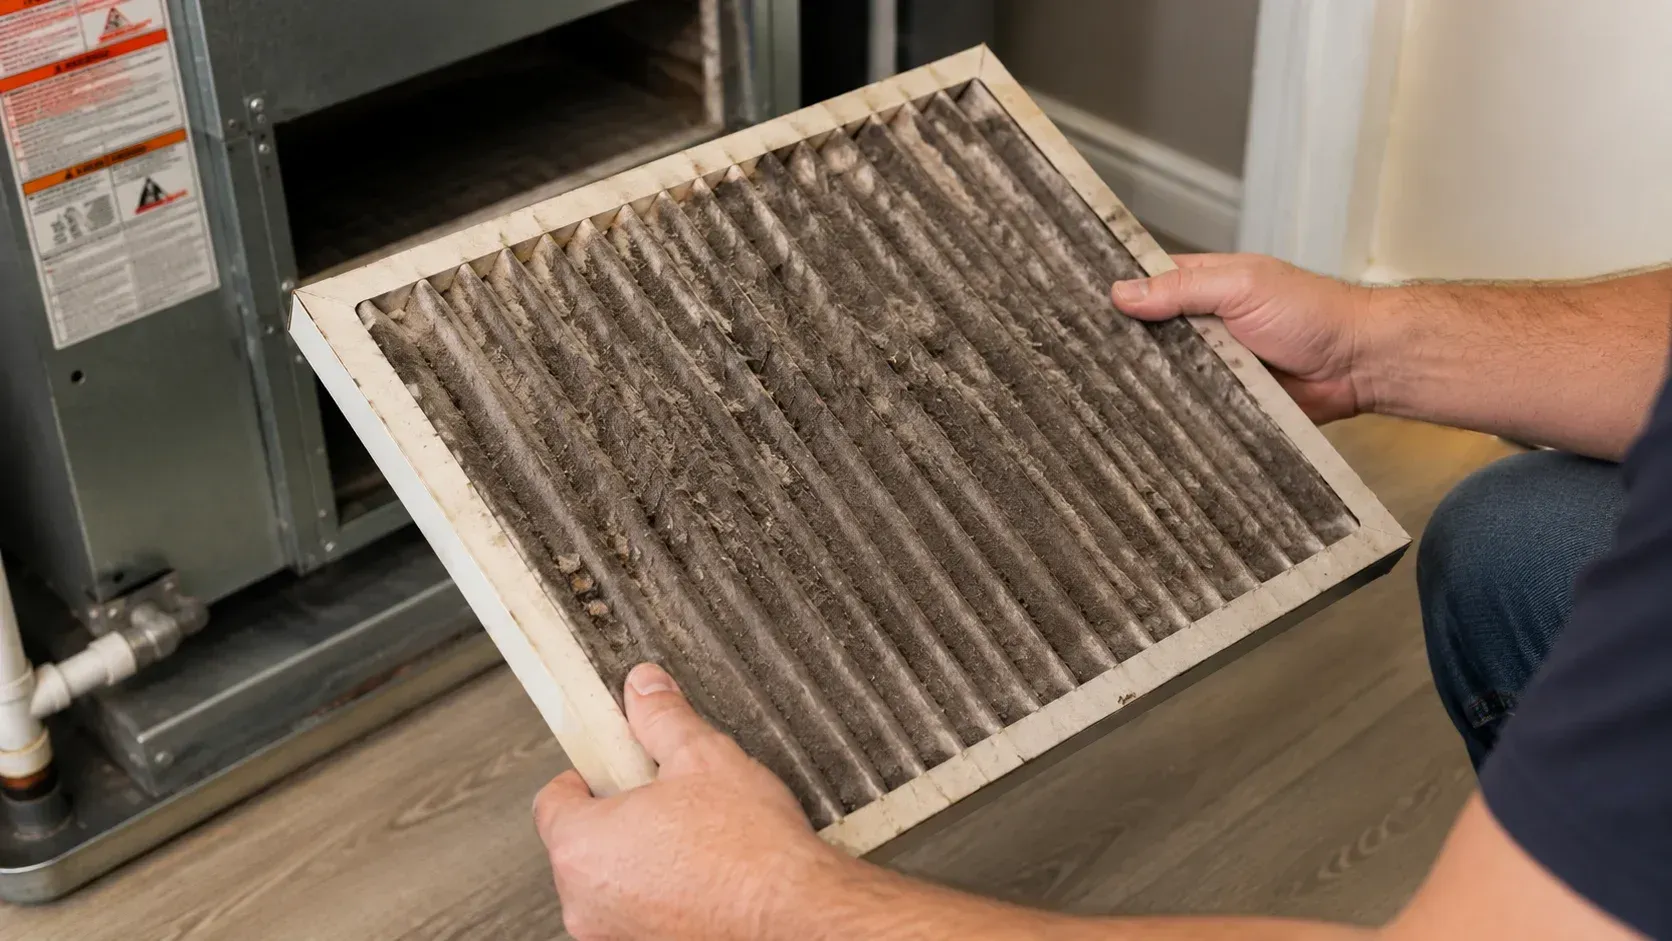
Step 3: Remove and Clean the Air Filter
The air filter plays a crucial role in trapping dust, debris, and potentially mold spores from entering your air conditioner. Begin by locating the air filter and removing it from the unit. Depending on its condition, you may need to either wash the filter with a mild soap and water solution or replace it with a new one. Cleaning or replacing the air filter regularly is essential for preventing mold growth and maintaining optimal indoor air quality.
A clean air filter also ensures that your air conditioner operates efficiently.
Step 4: Tend to the Condensate Drain
Mold thrives in environments with moisture accumulation, making the condensate drain of air conditioners a prime breeding ground. Utilize a wet/dry vacuum or a pipe cleaner to clear any debris or mold buildup from the drain line. Start by removing any visible debris or clogs from the drain line.
Then, flush the drain line with a mixture of water and vinegar to disinfect it and impede future mold growth. This step is crucial for maintaining a clean and functional condensate drain, which helps prevent mold growth and ensures proper drainage of condensation from your air conditioner.
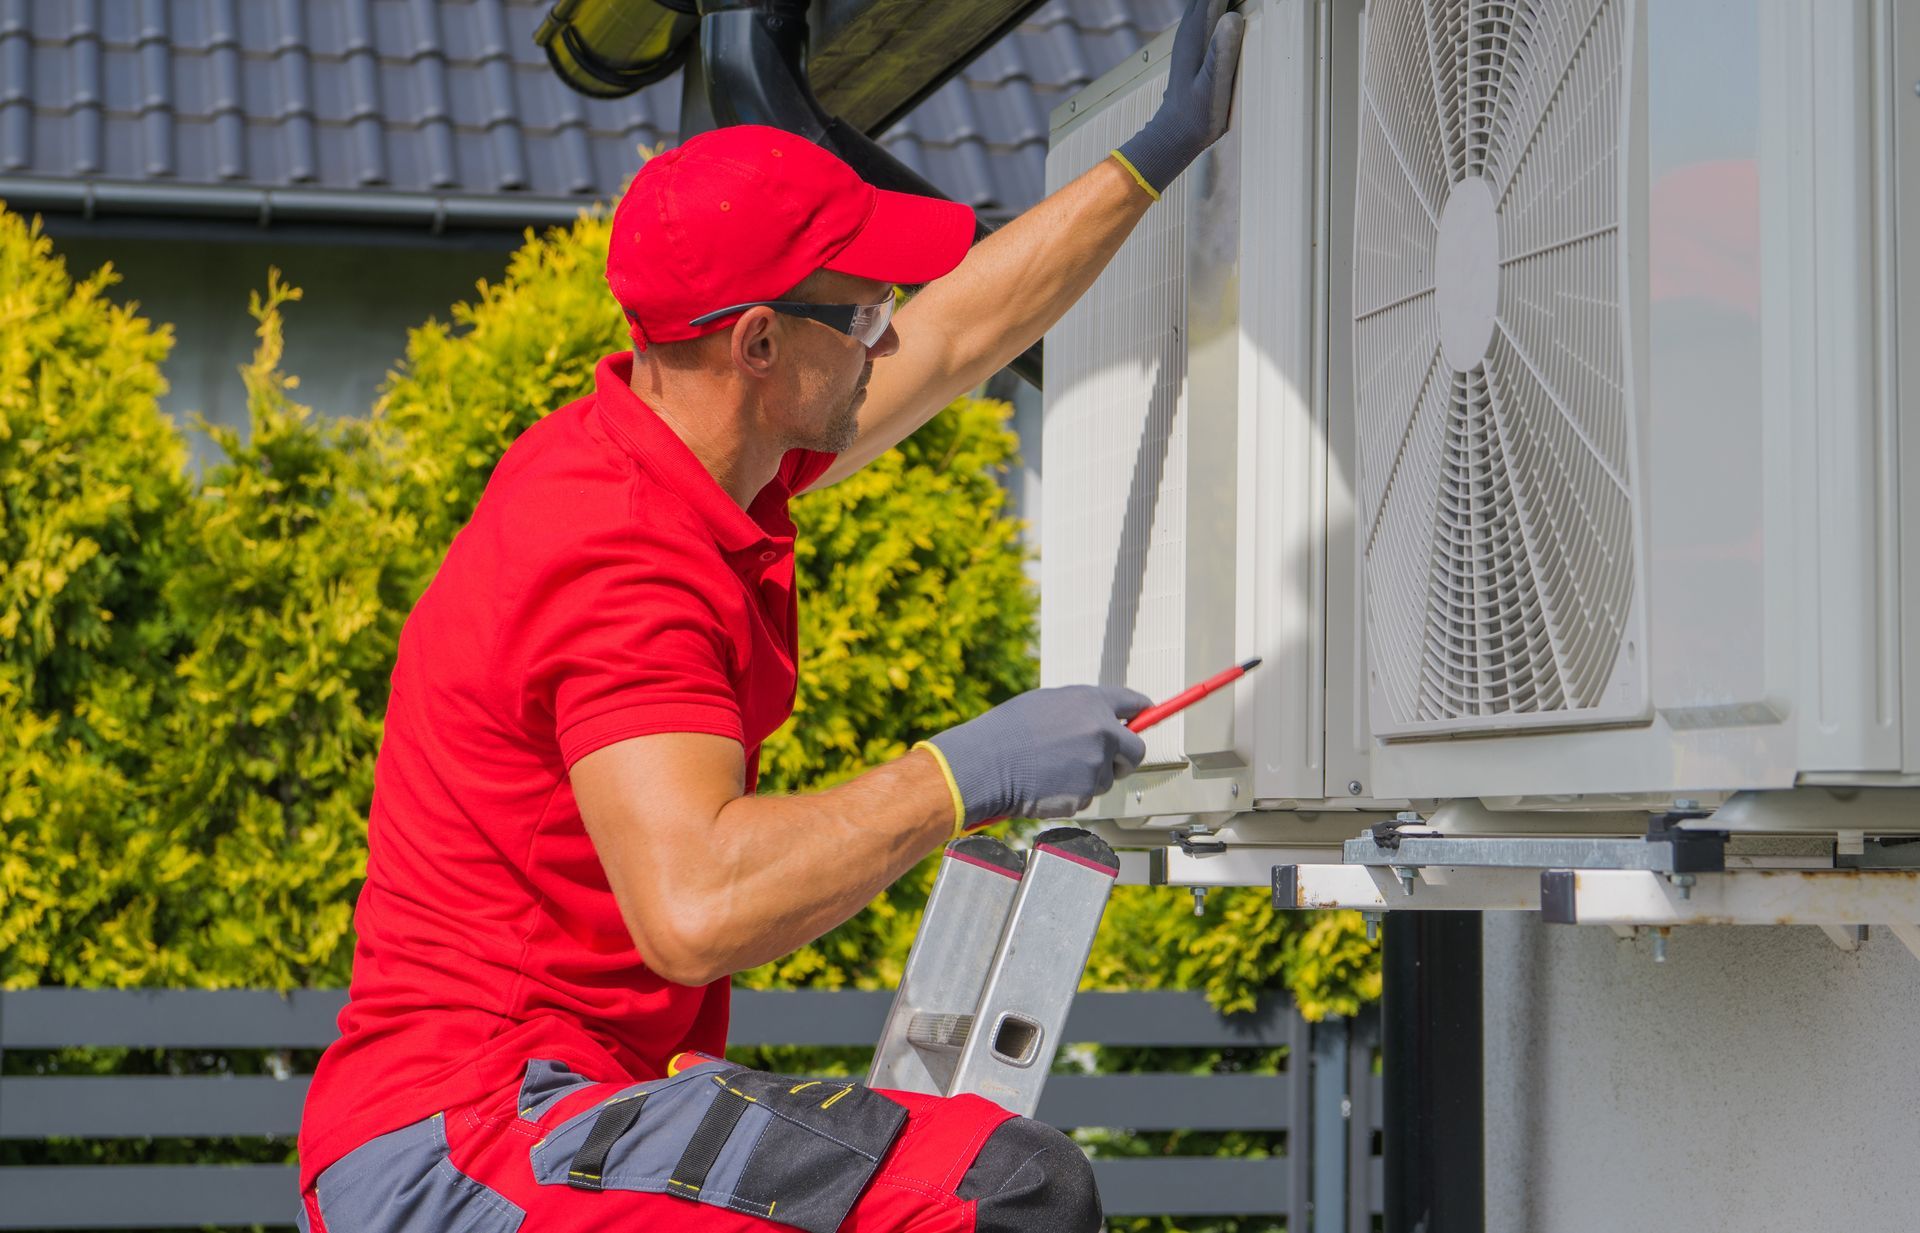
Step 5: Clean the Coils and Fins
Dive into the interior of your air conditioner to clean the evaporator coils and fins. These components can accumulate dust, dirt, and mold over time, impacting the efficiency of your air conditioner. Utilize a soft brush or a vacuum cleaner attachment to gently remove dirt and debris from the coils and fins.
For stubborn mold growth, consider employing a commercial coil cleaner, a solution of water and mild detergent. Apply the cleaning solution to the coils and fins and allow it to sit for a few minutes to loosen the mold. Then, thoroughly rinse the coils and fins with water to remove any remaining residue. Cleaning the coils and fins ensures optimal airflow and heat transfer, allowing your air conditioner to operate efficiently.
Step 6: Inspect and Disinfect Thoroughly
Conduct a thorough inspection of the interior components of your air conditioner for any lingering traces of mold. Pay close attention to areas where mold is likely to thrive, such as around the evaporator coils and in the condensate pan. Employ a mold-killing solution, such as hydrogen peroxide or diluted bleach, to disinfect affected areas thoroughly.
Apply the solution using a spray bottle or cloth, making sure to cover all surfaces where mold is present. Allow the solution to permeate for a few minutes before wiping clean with a damp cloth. This step helps eliminate any remaining mold spores and prevents mold regrowth.
Step 7: Reassemble and Test
Once all components are immaculately cleaned and disinfected, reassemble the air conditioner and reinstall the air filter. Ensure that all components are securely in place and that there are no loose or damaged parts. Restore power to the unit by switching the circuit breaker back on and plugging it back into the power source.
Run the air conditioner for a few minutes to ascertain optimal functionality. Monitor the unit vigilantly for any signs of mold resurgence and repeat the cleaning process as necessary. Testing the unit ensures that it is operating efficiently and effectively, providing clean and cool air to your home.
Conclusion
Taking proactive measures to clean mold out of your air conditioner not only preserves its efficiency and longevity but also safeguards the health and well-being of your household. By diligently following this DIY guide and implementing preventive strategies to curb mold growth, you can bask in the cool comfort of your home with peace of mind.
Should you encounter extensive mold infestation or feel unsure about tackling the cleaning process solo, don't hesitate to enlist the expertise of a professional HVAC technician. With a little effort and dedication, you can enjoy a mold-free, refreshing indoor environment throughout the seasons.
Ready to Ensure Your Air Conditioner Stays Mold-Free and Efficient?
Are you grappling with mold growth in your air conditioning unit, compromising both its performance and your indoor air quality? Fear not! With years of expertise in HVAC services, including mold remediation, Silas Heating & Cooling is your trusted ally in Horton, Alabama, and neighboring areas like Blount County, Albertville, Boaz, Guntersville, and Fort Payne.
Our team of seasoned technicians is committed to delivering top-notch service tailored to your needs. Whether you seek mold removal, air duct cleaning, or HVAC repair and maintenance, we're equipped to handle it all. We understand the significance of pristine indoor air quality and stand ready to provide emergency services to ensure your comfort around the clock.
Don't let mold wreak havoc on your air conditioner's efficiency.
Contact us today for a complimentary quote and entrust our skilled team to address all your HVAC needs with professionalism and precision. With Silas Heating & Cooling at your service, you can enjoy a mold-free and refreshing indoor environment year-round. Schedule your service now!
Frequently Asked Questions
Why is it important to clean mold out of my air conditioner?
Cleaning mold out of your air conditioner is crucial for maintaining optimal indoor air quality and ensuring the efficient operation of your HVAC system. Mold growth can obstruct airflow, reduce the efficiency of heat pumps, and lead to costly repairs. Regular cleaning helps extend the lifespan of your cooling system and protects the warranty.
Can I clean mold out of my air conditioner myself?
Yes, homeowners can clean mold out of their air conditioners themselves with proper guidance and safety precautions. However, it's essential to have experience or seek professional advice to ensure effective cleaning without damaging the HVAC units.
How often should I clean mold out of my air conditioner?
Homeowners should aim to clean mold out of their air conditioner at least annually, preferably before the start of the cooling season. Regular maintenance, including air conditioning service, helps prevent mold growth and ensures the efficiency of your HVAC system.
What safety precautions should I take when cleaning mold out of my air conditioner?
Prioritize safety by wearing protective gear such as gloves, safety goggles, and a mask to shield against exposure to mold spores and cleaning agents. Additionally, ensure that the power supply to the HVAC system is completely shut off to avoid electrical hazards.
Can I prevent mold growth in my air conditioner?
Yes, homeowners can take preventive measures to reduce the risk of mold growth in their air conditioner. Regular maintenance, including cleaning or replacing air filters, maintaining proper drainage in the condensate drain, and scheduling professional HVAC service, helps prevent mold proliferation.
What cleaning agents can I use to remove mold from my air conditioner?
Effective cleaning agents for removing mold from your air conditioner include hydrogen peroxide, diluted bleach, and commercial mold-killing solutions. It's essential to follow manufacturer guidelines and ensure proper ventilation when using these agents.
How do I know if mold has returned to my air conditioner after cleaning?
Signs of mold recurrence include musty odors, visible mold growth on components such as coils and fins, and a decrease in indoor air quality. If mold returns, homeowners should repeat the cleaning process and consider implementing additional preventive measures.
Can cleaning mold out of my air conditioner improve its efficiency?
Yes, cleaning mold out of your air conditioner can improve its efficiency by restoring optimal airflow and heat transfer. This helps reduce energy consumption, prolong the lifespan of HVAC units, and ensures a comfortable indoor environment. Contact us for a free quote and expert advice on maintaining your cooling system.
Related Posts