How to Prepare Your Home for a Smooth HVAC Installation
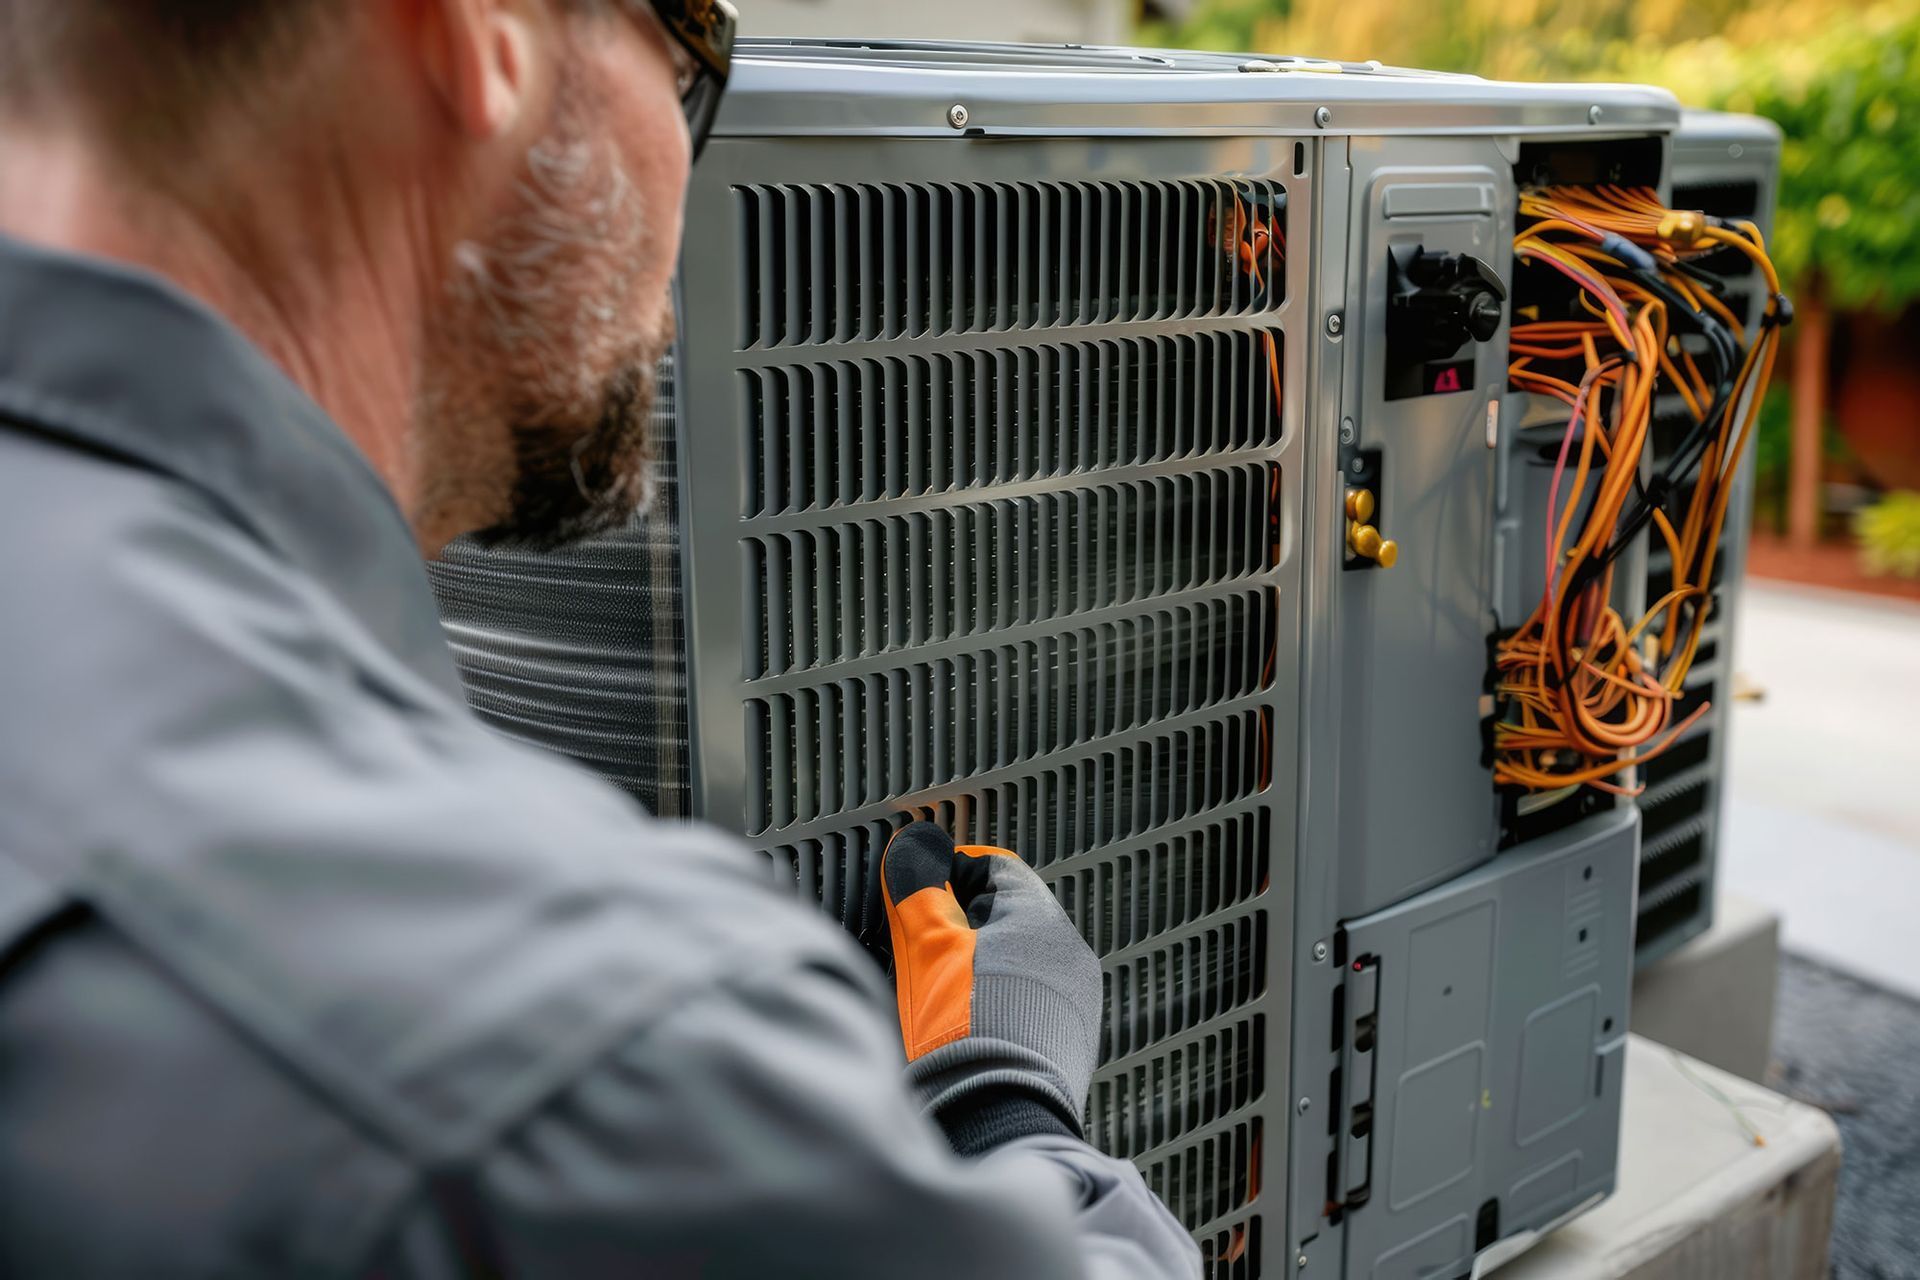
Table of Contents
- Introduction
- Why HVAC Installation Prep Matters
- Step-by-Step HVAC Install Checklist
- Schedule a Pre-Installation Inspection
- Clear the Work Area
- Ensure Easy Access for Technicians
- Take Safety Precautions
- Protect Your Belongings
- Understand the Installation Timeline
- Communicate with Your Contractor
- Special Considerations for Different Property Types
- Common Mistakes to Avoid During HVAC Installation
- Final Checks After Installation
- Conclusion and Next Steps
Key Takeaways
- Good home preparation HVAC steps can prevent delays and damage.
- Clear communication with your contractor streamlines the installation.
- Protecting your belongings and securing pets improves safety and efficiency.
- Follow an HVAC install checklist to cover all bases.
Introduction
When it's time to upgrade your heating and cooling system, proper preparation is key. Whether you're replacing an old unit or installing one for the first time, planning ahead can make a significant difference. This guide on HVAC installation prep will walk you through everything you need to do to ensure the process goes as smoothly as possible—from start to finish.
Why HVAC Installation Prep Matters
Getting a new HVAC system isn’t just about picking a unit and scheduling an install. It’s a multi-step process that involves technical work, moving equipment, and sometimes even making changes to the structure of your home. Without proper HVAC installation prep, you could face delays, increased costs, or even damage to your property.
At
Silas Heating & Cooling, we’ve seen firsthand how effective planning leads to faster, cleaner, and stress-free installations. Proper prep not only makes life easier for our technicians but ensures that your new system performs optimally from day one.
Step-by-Step HVAC Install Checklist
Follow this comprehensive HVAC install checklist to prepare your home and minimize any complications during the installation.
Schedule a Pre-Installation Inspection
Before the installation day arrives, have your contractor perform a full site evaluation. This allows them to assess the layout, ductwork, electrical systems, and determine whether any special accommodations are needed.
During this stage:
Review unit specifications and compatibility with your home.
Confirm any additional work (e.g., duct modifications, electrical upgrades).
Ask questions about what the day of installation will look like.
Clear the Work Area
Technicians will need room to work efficiently. Clear any furniture, rugs, or decorative items near where the unit will be installed, including indoor and outdoor components.
Areas to focus on:
- Furnace room or indoor air handler space.
- Outdoor unit pad or mounting area.
- Hallways or stairs that may be used to move equipment.
This step is essential to your home preparation HVAC process and ensures that your team has unimpeded access to do their job safely and effectively.
Ensure Easy Access for Technicians
If your HVAC system will be installed in a basement, attic, or crawl space, make sure pathways are clear and doors are unlocked. Consider:
- Removing obstructions from stairways.
- Providing proper lighting in darker areas.
- Informing technicians about tight spaces or low ceilings in advance.
The smoother the access, the quicker your system is up and running.
Take Safety Precautions
HVAC installation involves electrical and mechanical work. Minimize safety risks by:
- Keeping children and pets in a separate part of the home.
- Turning off the power supply to relevant circuits (if instructed by your contractor).
- Removing trip hazards in high-traffic areas.
If you’re unsure about how to secure certain zones, your HVAC installation prep specialist can guide you on safe setup procedures.
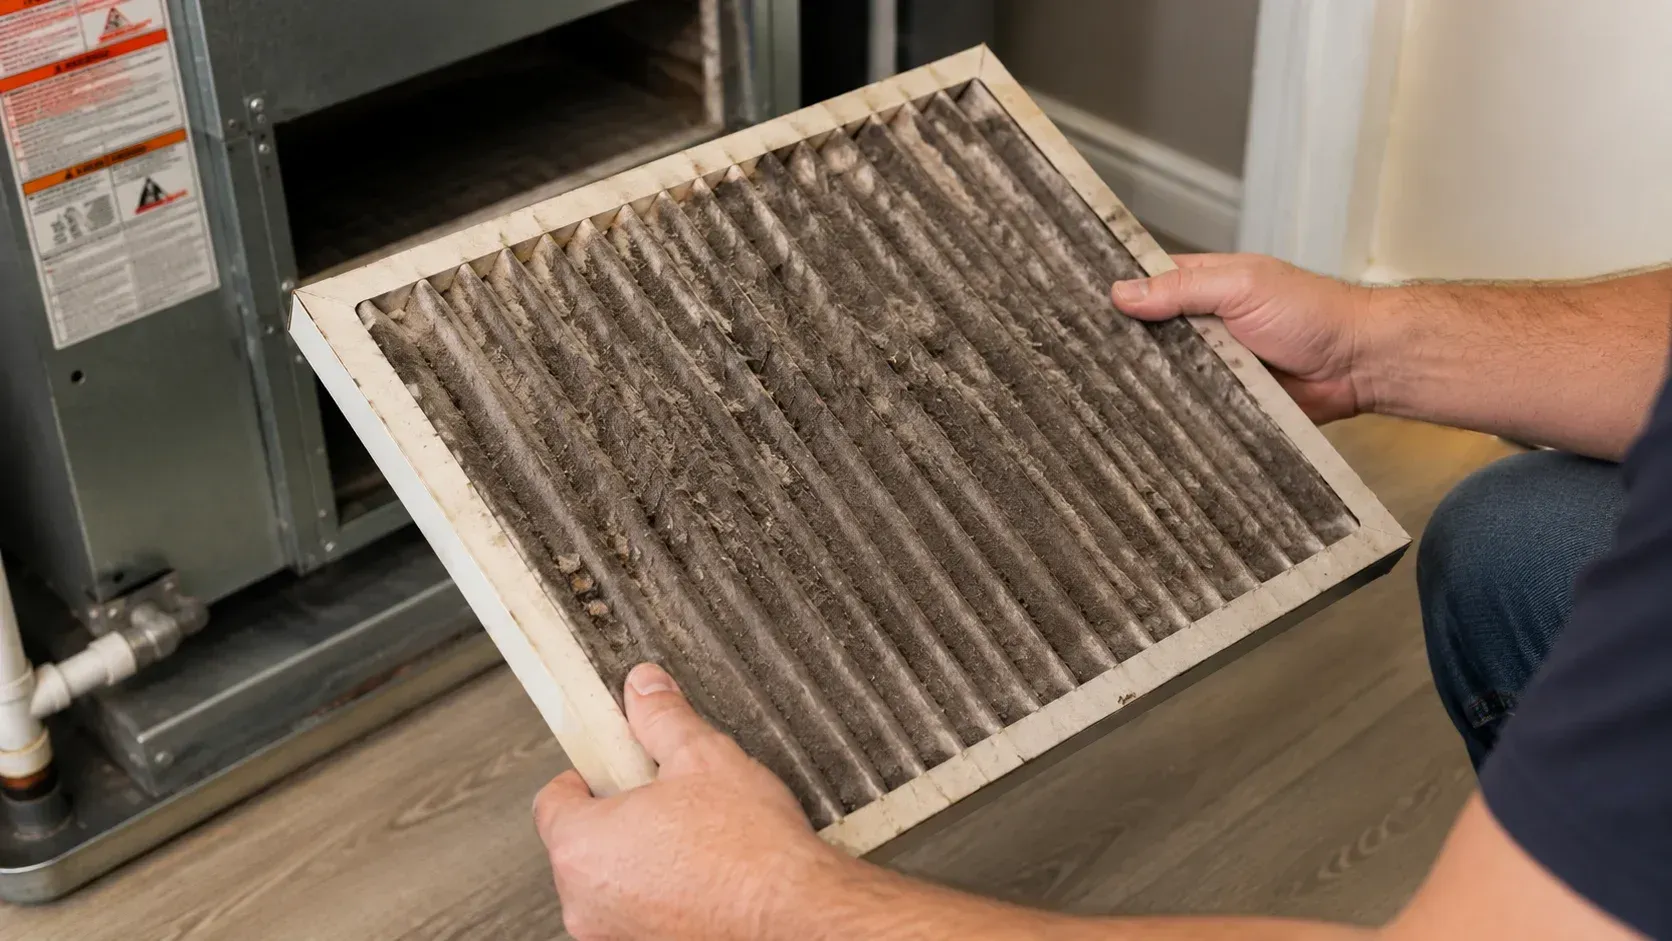
Protect Your Belongings
Dust and debris are often a part of the installation process. Shield your home and valuables by:
- Covering nearby furniture with plastic or cloth sheeting.
- Closing off adjacent rooms where possible.
- Moving fragile or valuable items away from the work zone.
If your HVAC system is being installed in a finished basement or near any electronics, take extra care to move them or cover them securely.
Understand the Installation Timeline
Installations typically last anywhere from a few hours to a full day, depending on the complexity of the system and the condition of your home’s infrastructure.
Ask your contractor for:
- An estimated start and finish time.
- Any potential roadblocks that could change the schedule.
- Required downtime or wait periods before using your new system.
Being aware of the schedule helps you plan your day accordingly and reduces frustration.
Communicate with Your Contractor
Open communication is one of the most underrated parts of good HVAC installation prep. Discuss the following before installation day:
- Where technicians can park and unload equipment.
- Which restrooms (if any) are available for use.
- Any special household rules (e.g., shoe covers, noise levels).
- Access codes or garage entry details, if you won’t be home.
When both parties are on the same page, it sets a positive tone for the whole project.
Special Considerations for Different Property Types
Single-Family Homes
Focus on clearing garage or basement access and marking attic or crawl space entry points. Be mindful of landscaping near the outdoor unit.
Apartments and Condos
Check with building management for access requirements. Some complexes require permits or advanced notice for utility work.
Older Homes
Older properties may need electrical upgrades, asbestos testing, or duct system retrofits. Bring these up during your initial consultation.
Common Mistakes to Avoid During HVAC Installation
- Not following the checklist:
Skipping prep steps causes delays and can increase installation costs. - Forgetting to clear outdoor areas:
Debris or overgrown vegetation can block airflow around the condenser unit. - Ignoring communication with your installer:
Failing to clarify expectations can lead to misunderstandings. - Leaving pets unattended:
Animals can get in the way or become anxious from unfamiliar noises. - Overlooking post-installation care:
Understanding how to operate and maintain your new system is critical.
Avoiding these pitfalls ensures your home preparation HVAC efforts pay off.
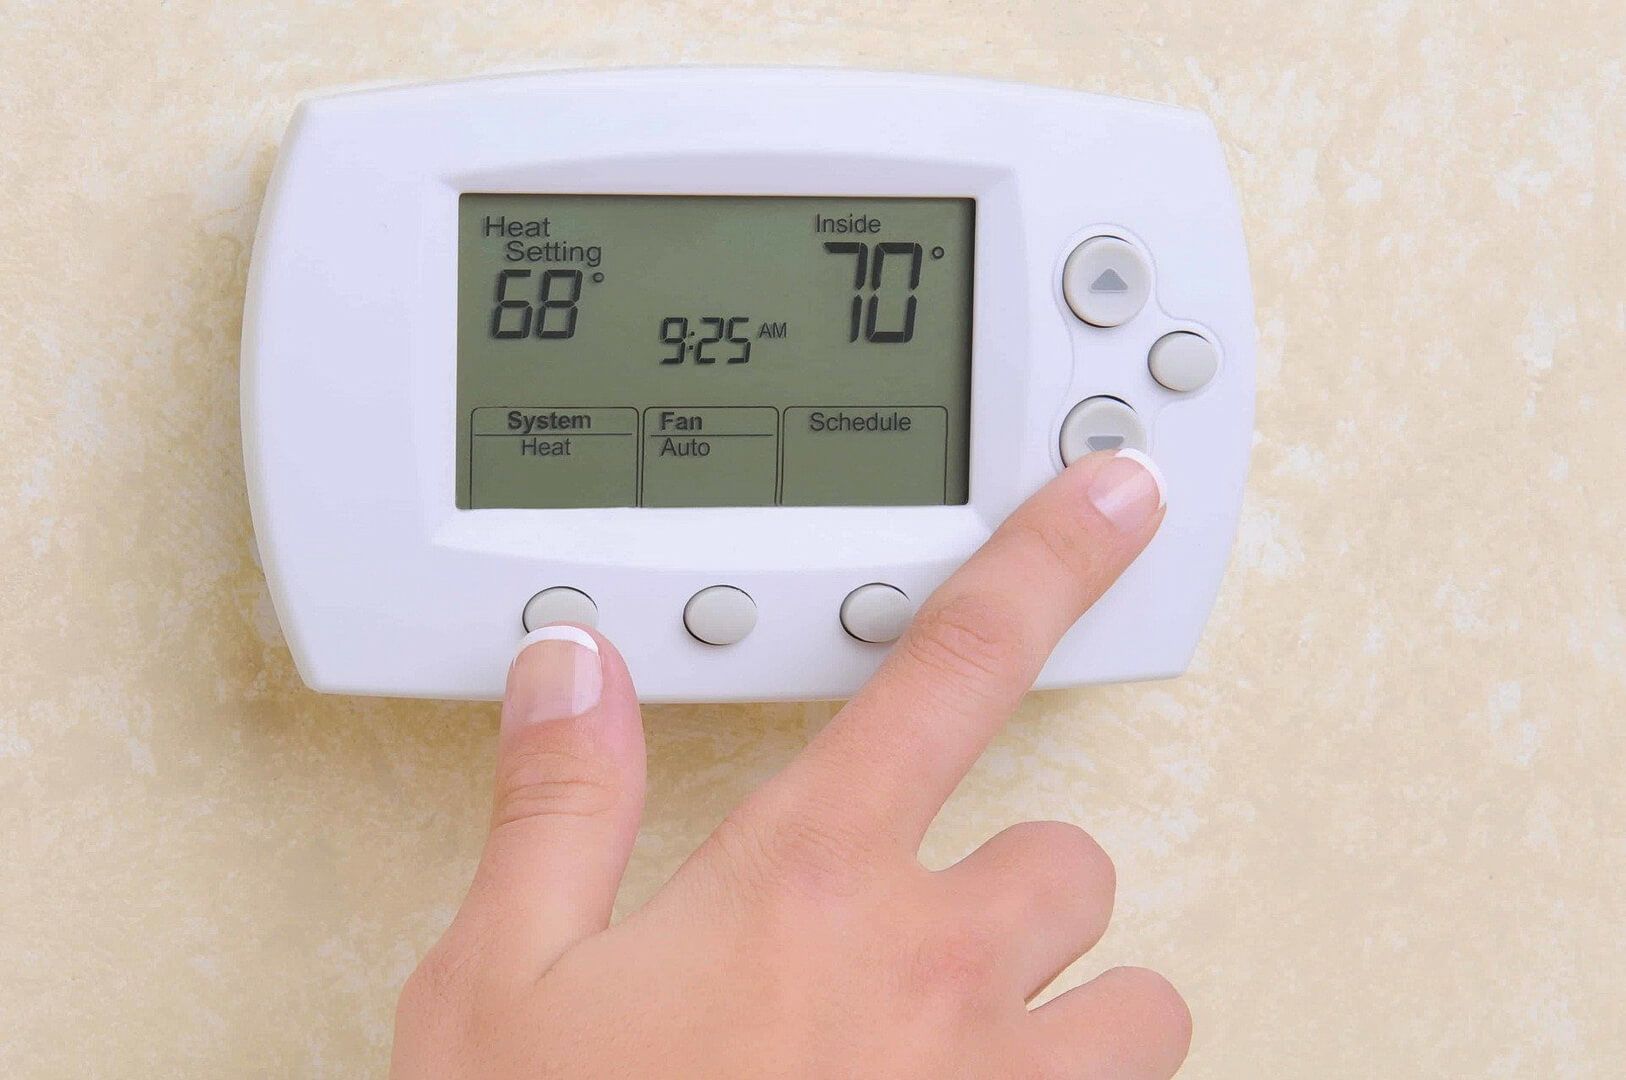
Final Checks After Installation
Once your system is installed, take the time to do a few walk-throughs:
- Inspect the thermostat functionality.
- Listen for abnormal noises or vibrations.
- Check air output in each room.
- Review the warranty and maintenance instructions provided by your installer.
It’s also wise to schedule a follow-up appointment a few weeks later to ensure everything is running as expected.
Conclusion and Next Steps
A successful HVAC system upgrade begins long before the first tool is picked up. By following a clear HVAC install checklist, ensuring open communication, and taking a few simple precautions, you can save time, avoid unnecessary stress, and protect your investment.
At Silas Heating & Cooling, we’re committed to making your HVAC installation prep seamless and worry-free. Our experienced team works with homeowners to guide them through every step of the process—so your home stays comfortable and energy-efficient all year long.
To schedule a consultation or learn more about how to prepare your home for a smooth HVAC installation, Contact us at (256) 572-9630. You can also reach us directly at ssilashvac@yahoo.com.
Let us help you turn HVAC stress into HVAC success—with Silas Heating & Cooling.
Frequently Asked Questions
What should I include in my HVAC install checklist before the technicians arrive?
Your HVAC install checklist should include key steps such as scheduling a pre-installation inspection, clearing the indoor and outdoor work areas, ensuring access to the installation site, protecting furniture and valuables, and discussing logistics with your contractor. These actions help streamline the installation process and reduce the risk of delays.
Why is HVAC installation prep important for homeowners?
Proper HVAC installation prep ensures that the system is installed efficiently, safely, and without unnecessary disruptions. By preparing your home in advance, you prevent potential damage, minimize downtime, and make the installation process smoother for both you and the technicians.
How do I handle home preparation HVAC tasks for an older property?
For older homes, home preparation HVAC may involve more detailed work, such as inspecting outdated wiring, ensuring structural access to attic or crawl spaces, and checking for the presence of asbestos. Always consult with your HVAC contractor about any special conditions your home may present before installation begins.
Do I need to be home during the HVAC installation?
While it’s not always necessary, being present during the install allows you to answer any last-minute questions and ensure your HVAC installation prep steps are complete. If you can’t be home, make sure access is arranged, and communicate any special instructions to the installation team in advance.
How can I make my HVAC installation day more efficient?
Follow a detailed HVAC install checklist, clear all work areas, and maintain open communication with your contractor. Secure pets, remove fragile items, and confirm the estimated timeline. Efficient home preparation HVAC helps reduce unexpected issues and allows technicians to work without interruptions.
Related Posts